Wondering why your kernel crashes on Jupyter? Cant seem to install packages with pip? Perhaps my experience helps
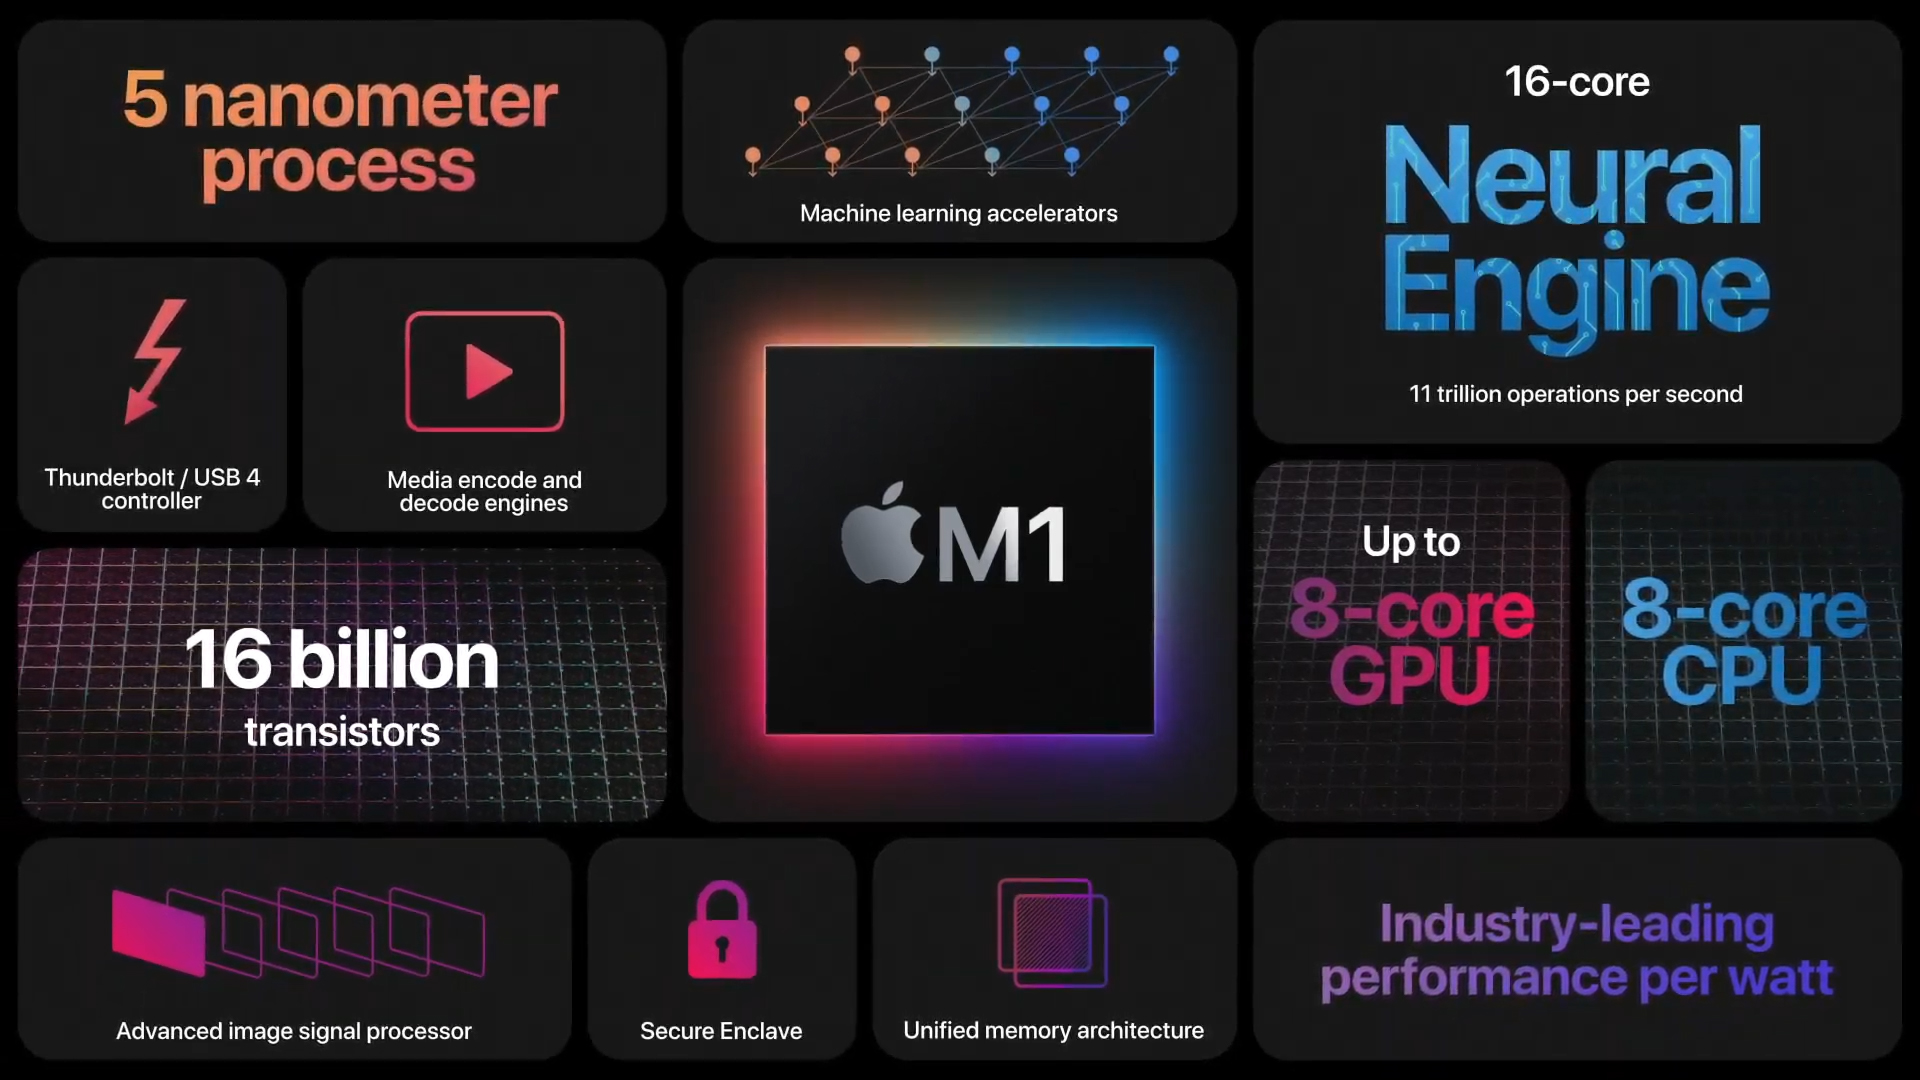
I upgraded my laptop to the new Apple M1 a year after it was released, thinking wishfully that the software compatibility side of things would have died down by now. Little did I know what I was up against.
After I installed macOS, I set out to do the usual stuff, installing Python, anaconda, virtual environments and the whole shebang. It seemed to be fine on the face of it, even though installing a few packages was an issue, it wasnt something that couldnt solved past a few google searches.
So I install jupyter notebook and with a lot of pain, install tensorflow and write the first line of code:
import tensorflow as tf
and then boom, the kernel dies. This initially seemed to be a problem with Jupyter Notebook so I try creating a new one and using it but doesnt matter, the result is the same. This is where I start expiring the solutions offered on stackoverflow or google. I realize the problem is with the new M1 chip compatibility. What if anaconda or even python itself is not compatible with M1. This is where I deleted anaconda and realize that Apple offers a python version that is compatible with M1 as part of the Xcode tools. Now I have a python version that is sure to be compatible and jupyter notebook and tensorflow installed from scratch. I tried again with much hope:
import tensorflow as tf
BOOM.. the kernel dies again.. coming to my wits end i browsed through the python, jupyter notebook and tensorflow github libraries and comments. Until I found that apple has its own M1 compatible tensorflow version: https://github.com/apple/tensorflow_macos/releases
Download the latest version and run:
/bin/bash Downloads/tensorflow_macos/install_venv.sh -p --python=/usr/bin/python3
One thing i missed and i wish someone told me earlier is to point the tensorflow_macos to a version of python that is compatible with M1 and released by apple as part of Xcode tools. When you install python as part of Xcode tools, it is saved under /usr/bin/python3. This is the reason for the -p --python=/usr/bin/python3 argument in the end.
This install a tensorflow virtual environment and all its dependencies that works perfectly well with new M1. One way to make sure you have done everything right is to do:
file $(which python)
from the newly created tensorflow virtual environment. This should return an executable with arm64 config like below:
tensorflow_macos_venv/bin/python: Mach-O universal binary with 2 architectures:
[x86_64:Mach-O 64-bit executable x86_64][arm64:Mach-O 64-bit executable arm64]
tensorflow_macos_venv/bin/python (for architecture x86_64): Mach-O 64-bit executable x86_64 tensorflow_macos_venv/bin/python (for architecture arm64):
Mach-O 64-bit executable arm64
Same goes for pandas. Installing it with pip results in all kind of troubles. It works only if it is installed from the source:
git clone --depth 1 https://github.com/pandas-dev/pandas.git
cd pandas
python3 setup.py install
This way of installing did not work in a different M1 Mac. What worked was emulating a x86 session to install pip. So i tried:
arch -x86_64 pip install pandas
Cheers
